In order to print wirelessly with the Canon TS55120 printer, you need to complete the Canon TS5120 setup
for your device. The printer lets you print and scan the documents
whenever you want. The printer involves three basic setup steps: First,
you need to unpack the printer, then connect and install it over the
WiFi network. This guide will share all the instructions with you that
you need for setting up the printer. Canon TS series is well known for
sharing the quality outputs and high performance. So, have better
productivity and enjoy the wireless experience of printing the documents
with Canon. Canon TS5120 Setup: For Windows and Mac Device
For wireless printing, you need to connect your printing device to
the WiFi network. To establish a successful wireless connection, you can
use the WLAN setup mode and hit the Pushbutton mode. Although, if you
are installing it for the first time, we recommend you go with the WLAN
setup mode. For this, you must have the details of your wifi network
like the username and password. Also, you need to install the latest
printer drivers and software available for the smooth and hassle-free
functioning of your device. Below we are sharing the step by step
instructions for completing the printer setup: Setup Instructions to Follow:
First of all, go to the Printer Panel and Choose the WiFi icon. You can find this icon on the left bottom of the menu.
Choose LAN settings and go to the ‘Wireless LAN Setup’.
Choose the ‘Easy Wireless Setup’ option.
The
Setup wizard will show you the ‘Follow the instructions on your
smartphone and computer to perform the operation’ message appearing on
your screen.
After this, you are supposed to download the Printer Setup file on your device.
Turn on the ‘Connection Mode’ screen, choose the ‘Wireless Mode’ and proceed with the steps given:
After this, the wizard will start looking for the list of available WiFi networks and show you the results.
From the list of WiFi networks, you need to select the WiFi name and the password.
After that, follow the onscreen guidelines until you see the wizard showing ‘Add a printer’ screen.
The Windows will display the list of devices to establish a connecting with the wifi network.
Choose your printer name and add it to your computer wireless.
With these simple steps, you can complete the Canon TS5120 setup
on your device and print the documents wirelessly whenever you want.
The steps work for Windows as well as Mac devices. So, complete the
setup and begin printing the documents wirelessly whenever you want. The
setup guidelines are pretty simple and easy to follow. But, if you
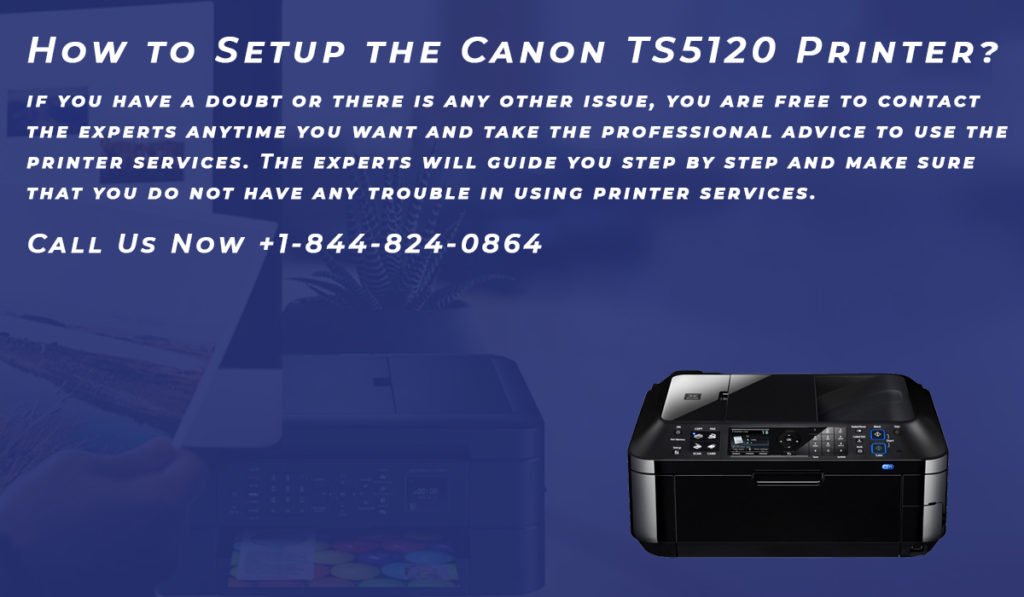
still have a doubt or there is any other issue, you are free to contact
the experts anytime you want and take the professional advice to use the
printer services. The experts will guide you step by step and make sure
that you do not have any trouble in using printer services.
Have you ever wondered how to print wirelessly with the Mac system? Well, it is possible with the MacBook Air. But, the question is how to connect printer to MacBook Air ? The answer to your question is here in this blog. This blog is a complete guide for you to complete the setup of your printer for the MacBook Air. So, if you are looking for the steps for how to connect printer to MacBook Air . then, you should go with the steps mentioned in this blog. So, the steps are explained in such a simple way that you can easily connect your printer. So, let’s get started without wasting any time! Steps For How To Connect Printer To MacBook Air For the MacBook Air, you need to enable the feature of the AirPrint. This feature is going to make the work so easy for you. With this, you can easily take the printouts and the scans even without the download of any printer driver or the software. So, before you proceed further, you need to enable the AirPrint feature on your MacBook...
There are so many printer problems that hinder the printing tasks. It is very frustrating when you are trying to print something important and the printer stops. When there are issues with your Brother printer’s interior, software, and connectivity then it reacts. However, some basic technical defaults can be resolved by doing a power cycle function. But, some serious problems require serious solutions. Such as Brother printer hard reset , is a sure-shot solution for all Brother printer problems. When you perform a Brother printer hard reset, the printer returns back to its default settings. After that, you can configure the printer once again and start printing. What Is A Hard Reset? Hard reset is when you put your device to its default factory settings, losing all the saved settings. A device can be reset using a button or other command specific to the product. If you perform a hard reset on the Brother printer then it will delete all the connections, archive tasks,...
Epson provides one of the best printers globally, and its new XP series has become most popular these days. This series is the best one from Epson. However, technical errors are the part of printers that you have to deal with. There are many queries regarding Epson XP 434 not printing or why it is not printing black. Suppose your Epson XP 434 or another printer of XP series is not printing black. In that case, there could be various reasons like your printer drivers are outdated, there may be an error in the printer's spooler, or you mistakenly give the incorrect configuration to your printer. What may be the issue is you have to identify it to resolve it. Thus, if you want to fix your Epson XP series printer, please read some fixes and guides in this article. Troubleshooting Methods for XP 434 Not Printing Black Error Check the connection of the printer Usually, the XP series printer or any printer stops printing due to some technica...


Comments
Post a Comment